My Seagate Backup Plus external hard drive is detected on my Windows 11 PC, but I can’t open some folders and a few important files seem missing. I need to recover photos and documents safely before I accidentally overwrite anything. What are the best Windows 11 data recovery steps to try first?
First thing: stop doing anything to the Seagate drive until you’ve recovered what you can. Don’t format it, don’t initialize it, don’t run “repair” tools, and don’t copy new files onto it. If the files disappeared because of file system damage or a bad partition, they may still be sitting there. Writing to the drive is what can turn a recoverable problem into a much worse one.
Before trying software, listen to the drive for a moment. Plug it in only long enough to check the basics. If it spins normally and stays connected, that’s a better sign. If it clicks, grinds, beeps, keeps disconnecting, or repeatedly spins up and down, treat it like a hardware failure. In that case, don’t keep scanning it with recovery apps. Check Seagate’s Rescue Data Recovery Services instead, especially because some Backup Plus models came with limited Rescue coverage. It’s worth checking by serial number.
If the drive sounds normal and your computer still detects it, even if it shows up as RAW, unreadable, unallocated, unmounted, corrupted, or asks to be formatted, that usually points more toward a logical issue. That’s where recovery software can help.
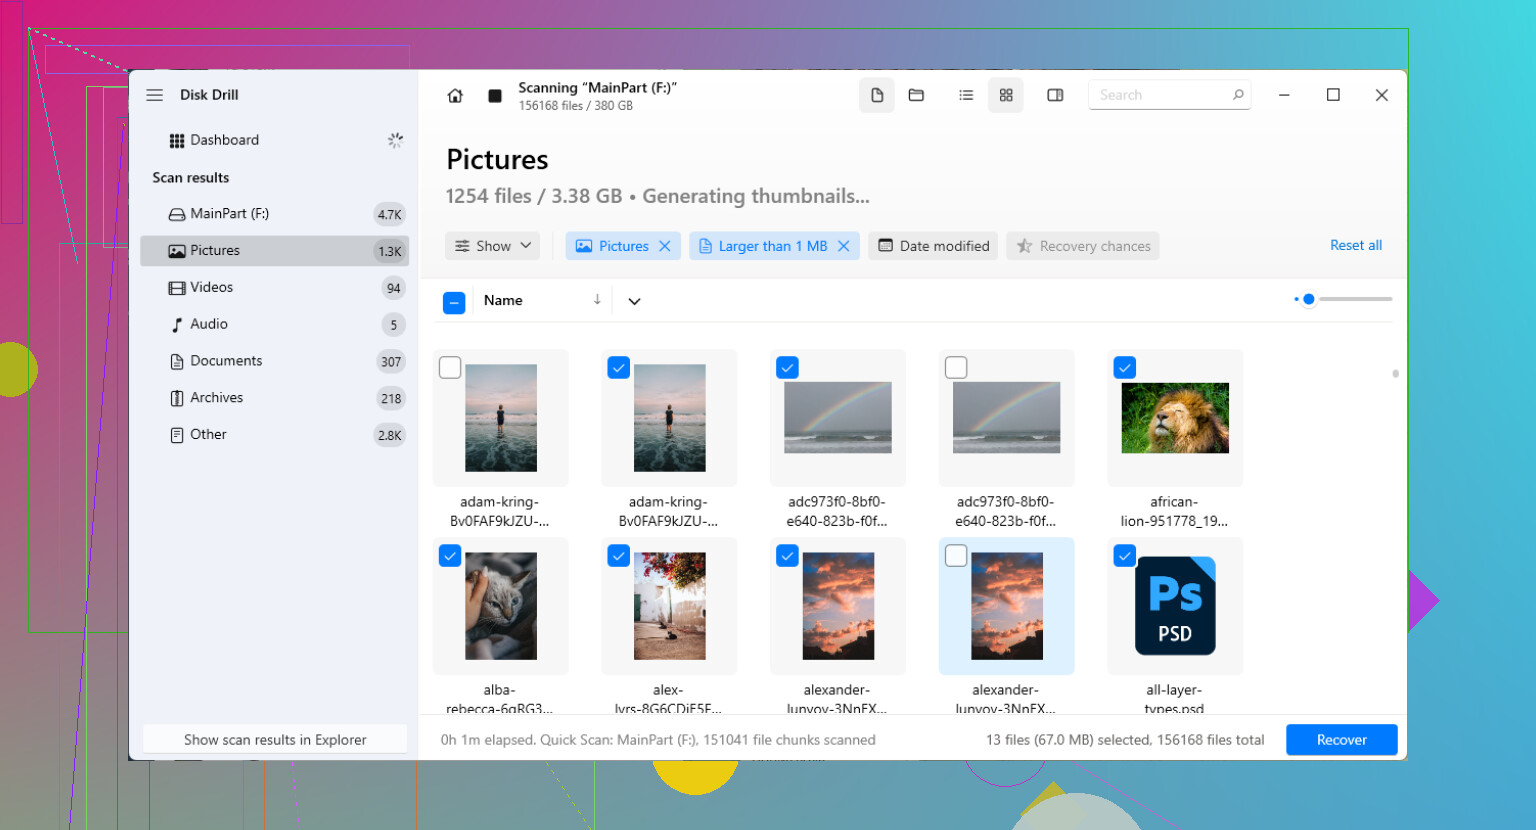
For DIY recovery, don’t try to “fix” the file system first. Scan it for recoverable files. Disk Drill is a reasonable option for this kind of Seagate external drive problem since it can scan damaged file systems, missing partitions, deleted files, and drives that may have been disconnected without safely ejecting.
A safer order would be:
- Install the recovery software on your internal drive or another external drive, not on the Seagate drive.
- If the data matters or the drive seems flaky, make a byte-to-byte image first. Then scan the image instead of stressing the original drive over and over.
- Try a different USB cable, port, adapter, or direct connection without a hub. A bad cable or weak connection can make portable drives look worse than they are.
- Scan the drive or the disk image. When results show up, preview files before recovering them. If a file previews correctly, that’s usually a good sign.
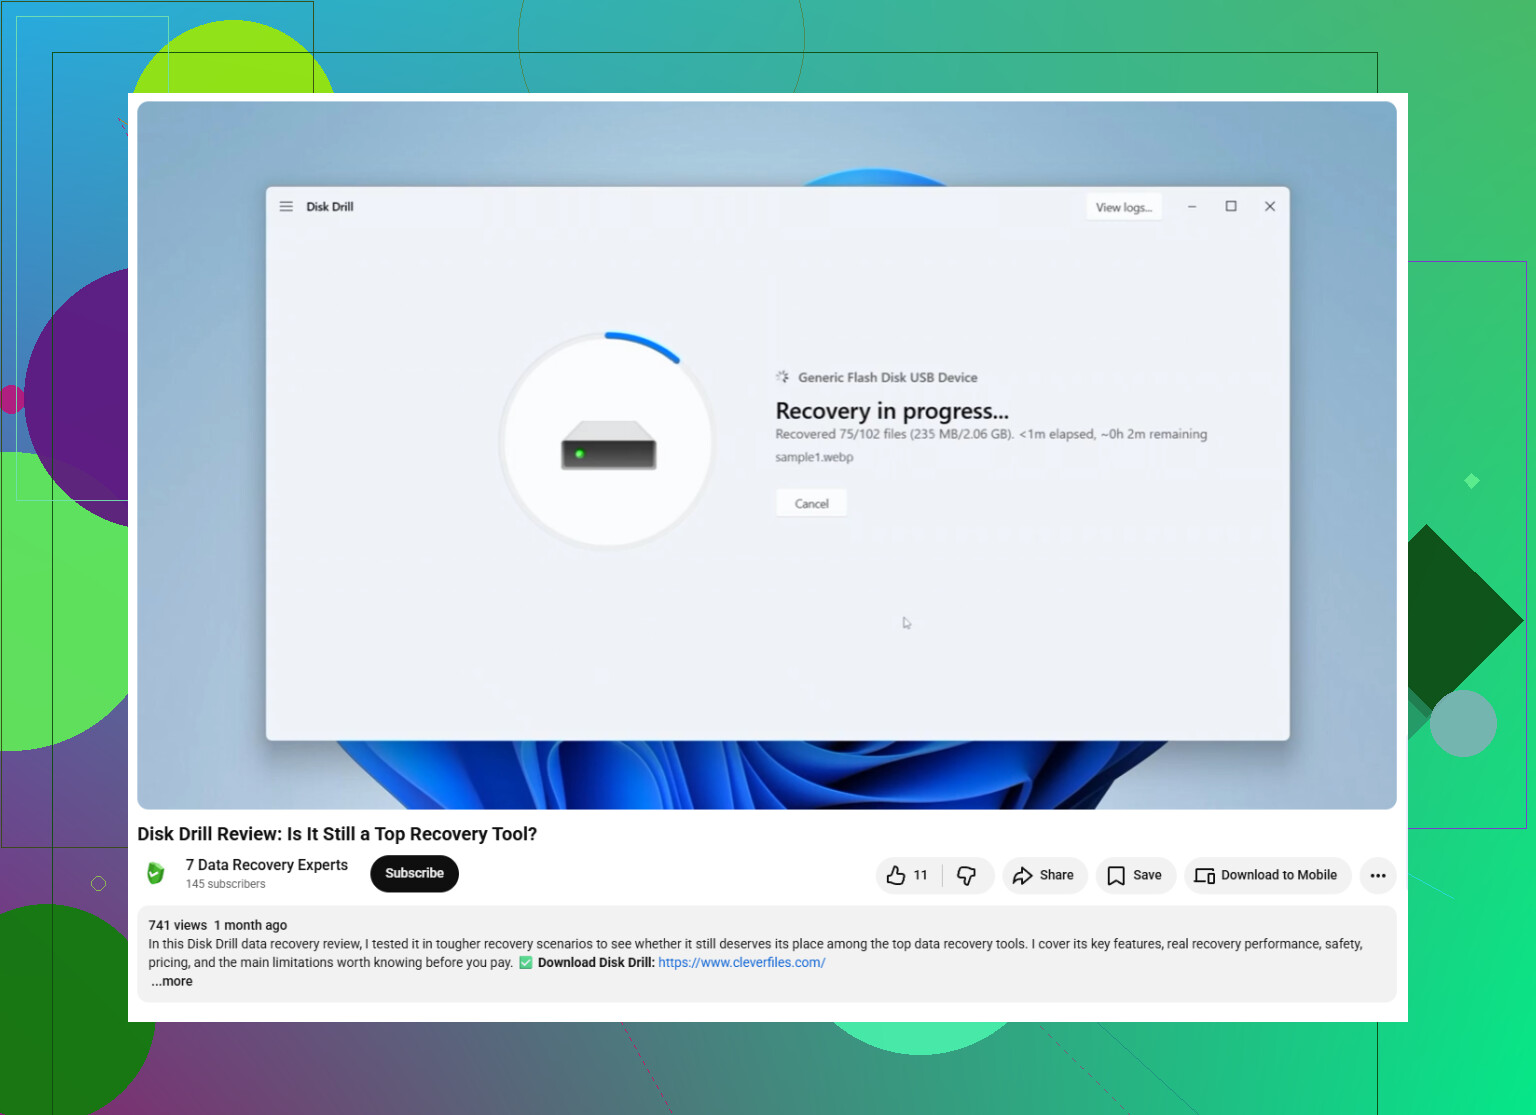
- Recover everything to a different storage device. Do not save recovered files back to the same Seagate drive during recovery.
If it doesn’t show up in File Explorer or Finder, check the lower-level disk tools. On Windows, look in Disk Management. On macOS, use Disk Utility. On Linux, check with a disk utility or command-line disk listing tool. If the drive shows the correct size there, recovery software may still be able to read it even though the operating system can’t mount it normally.
Once you’ve recovered the files, test the drive before trusting it again. SeaTools is the obvious option for a Seagate drive, though any reliable full-disk diagnostic tool is fine. If it fails testing, replace it. If it passes, you can reformat it, but I still wouldn’t use it as the only place your backups live.
Large drive scans can take a long time, sometimes many hours. But if the drive is detected, reports the right capacity, and isn’t making bad mechanical noises, there’s still a decent chance the files are recoverable.
11 Likes
If those folders are giving an “Access denied” message rather than asking you to format the drive, recovery software may not be the first thing to try. That can be plain NTFS permissions from another Windows install. I would still avoid “fixing” the drive, but check the exact error first. “Access denied” is different from “file or directory is corrupted,” “parameter is incorrect,” or the drive showing as RAW.
For the missing files, don’t trust File Explorer as proof they are gone. Turn on hidden files and protected system files just to check, and look for odd places like $RECYCLE.BIN on that drive. If the drive was used with backup software, the files may be buried in a backup set rather than sitting as normal folders. A recovery scan with something like Disk Drill can help if the directory table is damaged, but expect some results to come back without original names or folder paths. Preview a few photos and documents before recovering a huge batch.
I’d be careful with tools like CHKDSK here. It can make an unreadable folder readable again, but it can also “clean up” damaged entries in a way that makes recovery messier. Copy or recover to another drive first, then experiment on the Seagate after the important stuff is safe.

Whether the folders are actually unreadable or just owned by another Windows account changes what you should do next. If Windows says “You don’t currently have permission to access this folder” and offers a Continue button, that is not the same problem as a damaged folder. Clicking around in the Security tab and doing “replace owner on subcontainers” can write a lot of permission changes to the drive, so I wouldn’t make that the first move if the missing files matter.
A safer quick test is to open an elevated Command Prompt and see if the folder names can be listed without changing anything:
dir X:\ /a
Replace X: with the Seagate drive letter. If you know the folder name:
dir 'X:\folder name' /a
If the files show up there, you may be dealing with permissions, hidden/system attributes, or Explorer being unhelpful. At that point I’d try copying a small folder to another drive first, not “repairing” the Seagate. robocopy is good for this because it handles long paths and retry behavior better than dragging files in Explorer:
robocopy 'X:\problem folder' 'D:\Recovered\problem folder' /e /r:1 /w:1 /xj
That does not fix the drive, it just tries to copy. The /xj part avoids junction loops, which can be a weird annoyance on drives that have old Windows backup folders.
If you get read errors, CRC errors, the copy freezes for ages, or the drive drops offline, stop treating it like a permissions issue. That is where I agree with the earlier advice about imaging or scanning instead of poking the original disk repeatedly. A recovery tool such as Disk Drill makes more sense once you suspect deleted files, a damaged file table, or a lost partition. The important caveat is that a deep scan may find your photos by file type but lose folder names, dates, and original organization. That is normal and annoying, not necessarily a sign the scan failed.
Check the boring stuff too. If this Backup Plus was used with Seagate Toolkit, Windows File History, or another backup program, the files may not appear as your normal “Photos” and “Documents” folders. They may be inside versioned backup folders, with duplicate dates or odd folder nesting. Search the drive for file extensions instead of folder names, for example *.jpg, *.docx, *.pdf, and sort by size/date. Do that from a copy or image if the drive seems unstable.
I would not run CHKDSK until after the important data is copied somewhere else. Same for “take ownership,” partition repair, format prompts, or any tool that says it can fix the drive in place. Those can be useful later, but they are not recovery-first actions.
My order would be:
- Try a different USB cable and port, preferably a rear motherboard port on a desktop.
- Confirm the drive shows the correct size in Disk Management.
- Check the exact Windows error message.
- Try read-only listing/searching for the missing file types.
- Copy accessible files to another drive.
- If copy fails or folders are corrupted, image the drive if possible and scan the image.
- Recover to a different disk, never back onto the Seagate.
If the drive is making noise or disconnecting, skip the clever Windows tricks. If it is quiet, stable, and the issue is just certain folders, you may still get a lot back without doing anything dramatic. The main thing is to avoid turning a recoverable permissions or directory problem into a changed disk before you have a second copy of the data.
You probably shouldn’t expect one clean “restore my folders exactly as they were” result until you know whether this is permissions, encryption, or actual file system damage. Those three can look similar in File Explorer, but the recovery path is different.
A detail people sometimes miss with external NTFS drives is Windows encryption. If any of the missing or blocked files were encrypted with EFS on an older Windows install, copying them from another PC or recovering them with software may only give you encrypted files you still can’t open. In Explorer those files often showed up with green names on the original machine. For EFS, you need the original Windows user profile/certificate or a backup of that certificate. Disk recovery tools can find the file data, but they cannot magically decrypt it.
For a quick non-destructive check, I’d plug the drive in, avoid opening a bunch of folders in Explorer, and look at a few file properties from a known problem area. If you see “Encrypt contents to secure data” involved, stop and go find the original PC/login before doing anything else. If it is just NTFS permissions, then copying from an elevated prompt or from a Linux live USB can sometimes get around the annoying Windows ownership mess without rewriting permissions on the Seagate. Mounting read-only is better if you know how, but even a normal copy is safer than taking ownership recursively on the source drive.
If the files are truly gone from the directory listing, then yes, a scan with something like Disk Drill makes sense, especially if you can scan an image instead of the physical drive. Just keep expectations realistic: deleted photos may come back with generic names, and documents may be harder to verify unless preview works. Don’t save the recovered output to the Seagate, and don’t judge the scan only by folder view. Check the “found by type” style results too.
The annoying case is when the drive is half-readable. If some folders open and others hang, I would prioritize the irreplaceable stuff first instead of trying to make the whole drive behave. Grab the photos/documents you can see, then scan or image. Full-drive rescue attempts are great, but they can waste the remaining life of a weak portable drive if it is already starting to drop offline.