My hard drive suddenly shows up as RAW after what looks like file system corruption, and I can’t access important files that were on it. I’m trying to figure out the safest first steps for RAW disk recovery without making the data loss worse, and I need help choosing the right tools or methods to repair the drive and recover my files.
Yep, I’d treat this as recoverable until proven otherwise. I would not format the drive first. When Windows throws the “You need to format the disk before you can use it” prompt, what I’ve seen most of the time is a broken file system, not an empty disk. A RAW label often means Windows lost track of the structure. Your files might still be sitting there.
My first check is boring but important. Is the drive acting normal, or does it feel like hardware is on the way out?
- If Disk Management sees it in a stable way, and the drive is quiet, I’d start with recovery software.
- If it clicks, drops off mid-session, reconnects at random, or shows up inconsistently, I’d stop there and send it to a lab. I’ve watched people turn a bad drive into a worse one by forcing scans on failing hardware.
If this looks like file system damage and not a mechanical mess, I’d do it in this order:
- Stop writing anything to the drive.
- Pull off the files you care about.
- Open a sample of those recovered files and make sure they aren’t junk.
- Then deal with the RAW partition.
- If you keep the drive, copy the good data back later.
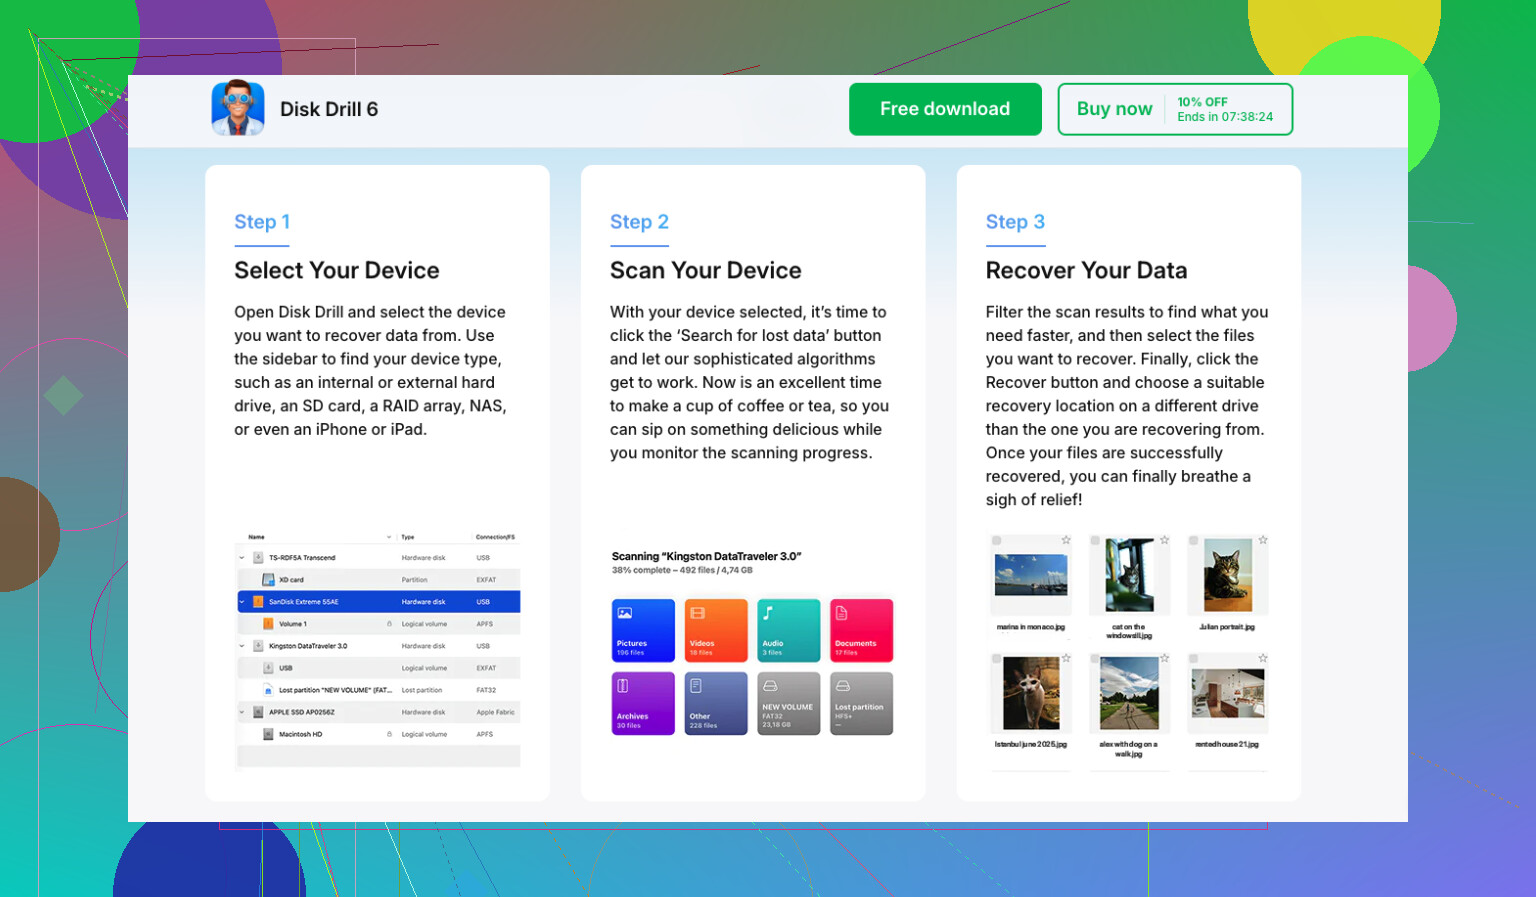
For the recovery step, I’d start with Disk Drill. The reason is simple. It doesn’t stick to one recovery method. When enough of the old file system survives, it tends to pull files back with filenames and folders intact. When the structure is too damaged, it falls back to file-signature scanning and looks for known file types across the disk surface. In practice, that matters, because one scan path might fail while the other still gets usable data.
The basic workflow is straightforward:
- Install Disk Drill somewhere else, not on the problem drive.
- Pick the RAW disk or RAW partition.
- Hit Search for Lost Data. On an external drive, use Universal Scan if it asks. I’d only touch Advanced Camera Recovery for footage from cameras, action cams, or drones.
- Let the scan finish. Don’t cut it off early unless the drive starts misbehaving.
- Preview what it finds.
- Recover everything to a different disk.
If you want free tools, the old pair still comes up for a reason, TestDisk and PhotoRec.
- TestDisk is the one I’d try when there’s a shot at repairing the partition layout or boot sector. Sometimes it brings the volume back without a full copy-out first.
- PhotoRec takes the opposite route. It ignores the broken file system and hunts by file signatures. I’ve seen it pull a lot back, but the tradeoff is ugly. Filenames are gone, folders are gone, and you end up sorting a pile by hand.
One step people skip, and I think this is a mistake, is making an image of the RAW drive before trying repairs. If the disk feels shaky but still reads, a byte-for-byte image gives you one clean fallback. Mess up a repair attempt on the original, and you still have something to scan later. I learned this the hard way a while back with an external HDD. I tried fixing first, then wished I had cloned it before touching anything. Dumb move.
Only after my files were safely copied off would I try to fix the partition itself. If it used NTFS before, CHKDSK sometimes helps. I still would not run CHKDSK before recovery, because it writes changes to the file system. If it does the wrong thing, your recovery job gets harder. If CHKDSK doesn’t sort it out, I’d move to TestDisk. If both fail, I’d rebuild the partition in Disk Management, do a quick format, and then move the recovered files back.
One extra thing for SSDs. Don’t let it sit for days or weeks while you decide. TRIM changes the math. Deleted blocks on SSDs get cleared over time, and once that happens, recovery odds drop fast. A RAW partition won’t always trigger TRIM right away, from what I’ve seen, but waiting still hurts your chances. The less you use the SSD, and the sooner you start recovery, the better.
4 Likes
Start with triage, not repair.
If the drive is an HDD, check SMART first with CrystalDiskInfo or smartctl. If you see reallocated sectors, pending sectors, CRC spikes, or read errors, stop touching the file system. Clone first. If the drive is USB, swap the cable and port before you assume corruption. I’ve seen bad enclosures fake a RAW volume more than once.
I differ a bit from @mikeappsreviewer on CHKDSK timing. I wouldn’t even think about CHKDSK unless the data is either backed up or expendable. On a damaged NTFS volume, CHKDSK loves “fixing” things by deleting index records and orphaning files. Great for mountability, bad for recovery.
Best first move for a shaky but readable disk is ddrescue to another disk or image file. Work from the clone, not the original. That gives you retries, logs, and a clean rollback path. If the disk is healthy and stable, then scan the clone or the source with Disk Drill. It’s one of the easier options for a RAW partition recovery scan, and it tends to show fast previews so you know early if the file set looks sane.
If you want a plain-English walkthrough on how to restore files from a RAW hard drive, this video is decent:
watch this RAW drive data recovery walkthrough
One more thing people miss, check the partition table. If Disk Management shows the right size but no file system, corruption is likely inside the volume. If the size is wrong or unallocated, think partition damage first. Different problem, diffrent tools.
RAW usually means Windows can’t read the file system, not that the data insta-vanished. I agree with @mikeappsreviewer and @yozora on the big thing: don’t format it yet. Where I slightly differ is I also wouldn’t rush straight into “repair” tools just because the drive still mounts. First figure out if this is a connection issue pretending to be corruption.
A few checks that don’t get mentioned enough:
- Try the drive on another PC
- If it’s external, remove any hub and plug it direct
- Check Device Manager and Event Viewer for disk errors
- Compare the reported capacity in BIOS/Disk Management to the label on the drive
If capacity looks wildly wrong, that can point to enclosure/controller weirdness, not just file system damage. Seen that more than once with cheap USB-SATA bridges.
If the size is correct and the drive is stable, I’d inspect the partition with a hex viewer or even just a partition tool to see whether the NTFS boot sector is toast or if the partition type itself got mangled. That helps decide whether you’re dealing with partition metadata damage vs full file system corruption.
For actual file recovery, Disk Drill is a pretty sensible pick because it handles RAW partition recovery without forcing repair first, and the preview is useful for checking whether your files are real before wasting hours. I’d still save recovered data elsewhere, obviosuly.
Also, skip any “initialize disk” prompt. That one gets people.
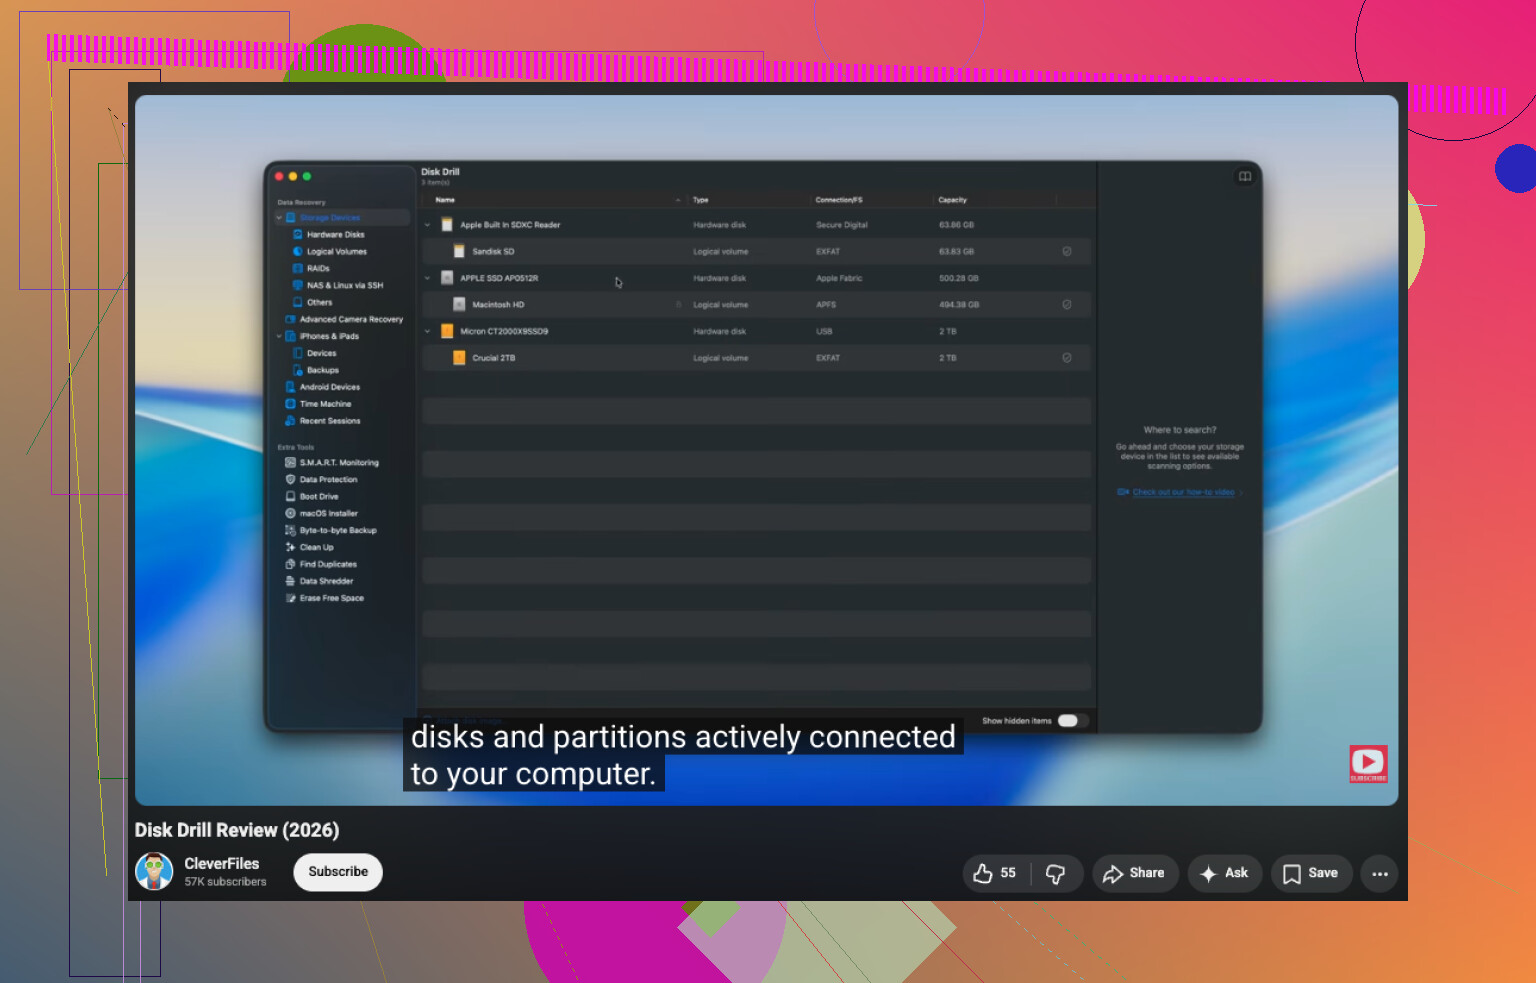
If you want a simple overview before touching anything, this Disk Drill review and RAW drive recovery walkthrough is easier to follow than most text walls.
I’d add one “before anything else” check the others only touched lightly: verify whether the file system is the only thing broken, or whether Windows is misreading the disk geometry.
Quick way:
- Open Disk Management
- Check if the partition size matches what the drive should be
- Check if it shows RAW, Unallocated, or just no drive letter
- Open an admin terminal and run
diskpart, thenlist diskandlist volume
If the volume is there with the expected size, that leans toward file system damage. If the size is nonsense, I’d suspect enclosure, adapter, or controller issues before I trust any recovery scan. That’s where I slightly disagree with the “scan if stable” advice from @yozora, @cacadordeestrelas, and @mikeappsreviewer. Stable does not always mean truthful.
Another thing: do not mount it repeatedly in Windows if it keeps prompting to fix, format, or initialize. Those prompts are bait.
If the disk passes the sanity checks, I’d recover data first and only then think about repairs. Disk Drill is fine for that because it previews files well.
Disk Drill pros:
- Easy to sort found files
- Preview helps verify recoverability
- Good for RAW volumes without forcing repairs first
Disk Drill cons:
- Not the cheapest option
- Deep scans can take ages
- Signature recovery can still lose original names/folders
If Disk Drill finds good previews, recover to another disk immediately. If previews are corrupt, stop wasting time and escalate to imaging or pro recovery. That preview test tells you more than people think.