My SD card suddenly stopped working after I removed it from my camera, and now my computer says it needs to be formatted before I can open it. It has important photos and videos on it that I never backed up, and I really need advice on how to recover data from a corrupted SD card at home without paying for professional recovery.
I’ve had a few SD cards go bad over the years, and the part people mess up most is the first click. The device says the card needs formatting, they hit OK, and now recovery gets harder for no good reason.
If your phone, camera, or PC throws up a format warning, stop there. Don’t format the card if you still want the photos, videos, or docs on it. I learned this the annoying way. A format rewrites file system info, and while recovery is still possible sometimes, you’ve made the job worse.
Same deal with continued use. Pull the card out and quit writing to it. No new photos. No copying files onto it. No trying random fixes first. Every write gives old data a better chance of being replaced.
What I do first is recovery, not repair.
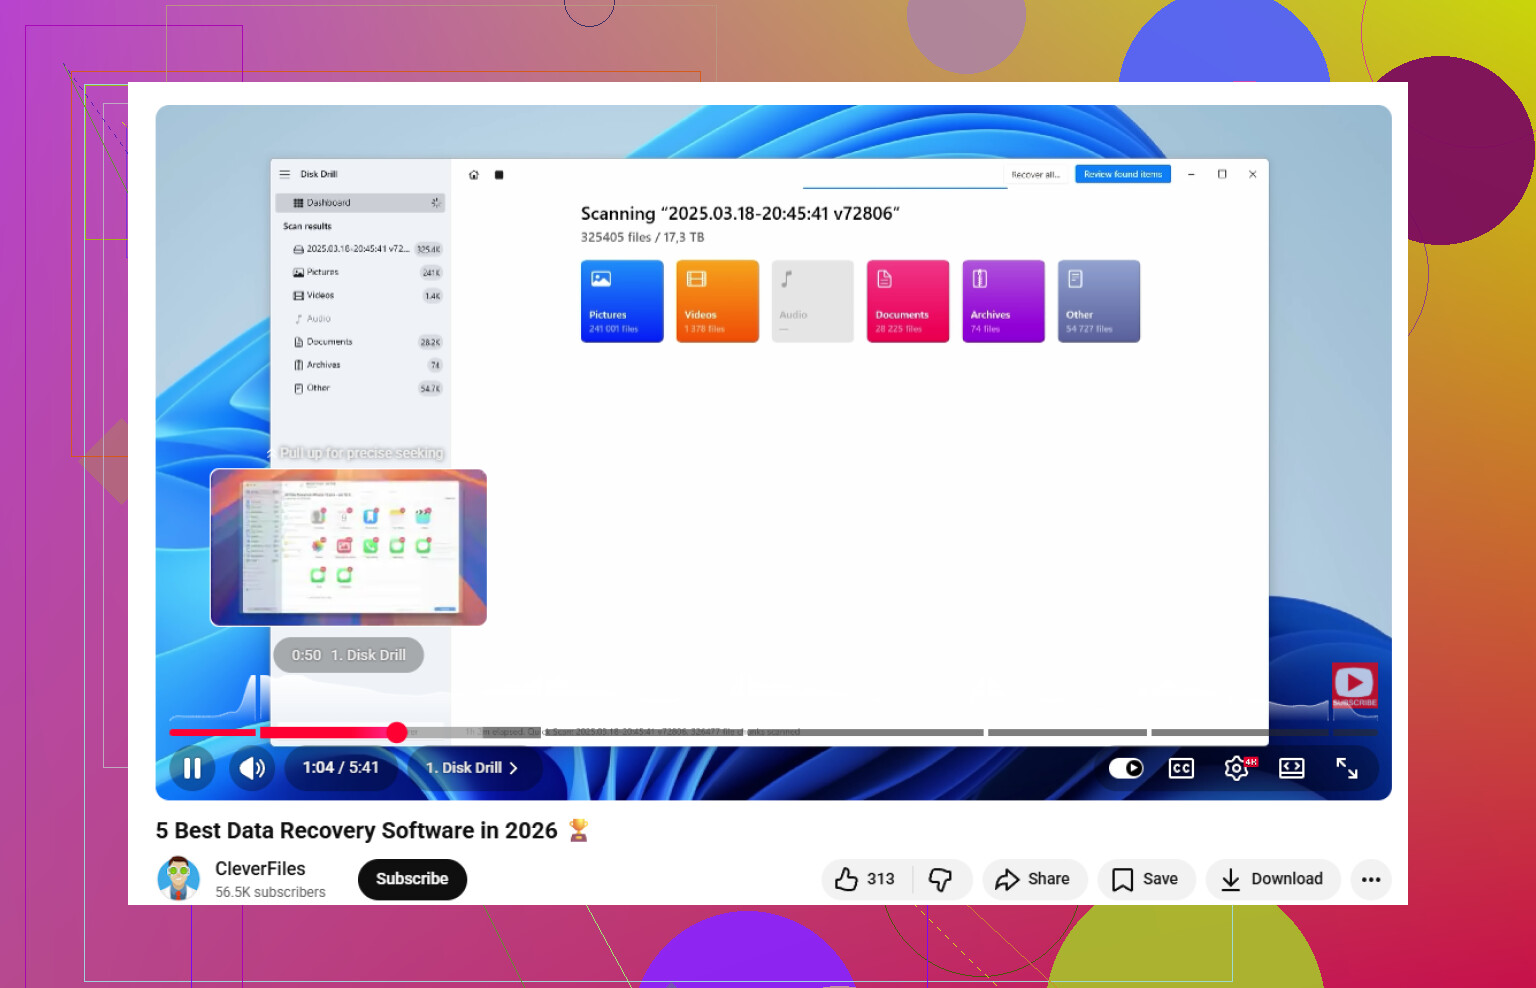
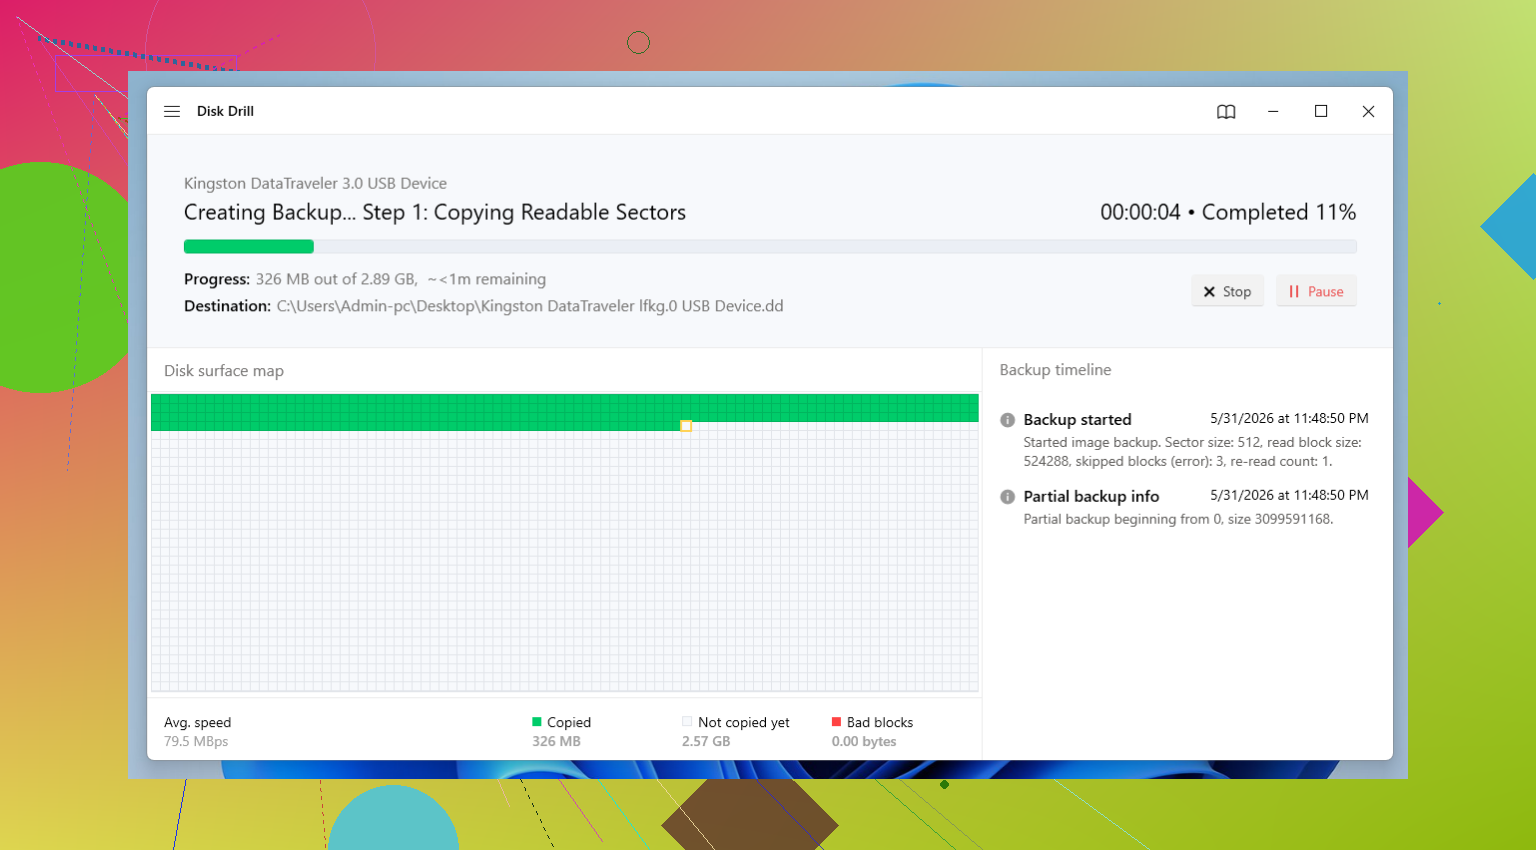
For recovery software, I usually start with Disk Drill. I’ve used it on deleted files, cards gone RAW, messed up file systems, and cards people had already formatted once out of panic. The part I like most on shaky SD cards is the byte-to-byte backup option. If the card looks unstable, make an image first, then scan the image instead of hammering the original card over and over. After the scan, check previews, recover what matters, and save it somewhere else. Not back to the same SD card. I’ve seen ppl do that too.
After your files are safe and you’ve opened a few of them to confirm they aren’t broken, then start trying to fix the card itself.
Method 1: Rule Out the Reader First
This sounds small, but I’ve seen bad card readers fake the exact symptoms of a corrupted SD card. Before you do anything deeper, remove the card and test it another way.
- Try a different card reader.
- Try another USB port.
- Use a different adapter if you have one.
- Check the card on another computer.
If the card works somewhere else, your problem wasn’t the card. Saves a lot of wasted time.
Method 2: Give It a Drive Letter in Windows
I’ve run into cards where Windows saw the storage, but File Explorer showed nothing. The fix was stupidly simple. No drive letter.
- Press Windows + X, then open Disk Management.
- Find the SD card in the device list.
- Right-click its partition.
- Select Change Drive Letter and Paths.
- Pick Add or Change.
- Assign an unused letter, then click OK.
Now check File Explorer again.
Method 3: Use Windows Error Checking
For minor file system issues, the built-in Windows repair tool sometimes does enough.
- Open File Explorer.
- Right-click the SD card.
- Select Properties.
- Open the Tools tab.
- Click Check under Error Checking.
- Let Windows scan and apply fixes if prompted.
This won’t save every card, but I’ve had it bring one back after a camera hard-freezed mid-write.
Method 4: Run CHKDSK
If the normal repair window doesn’t do much, I move to Command Prompt.
- Insert the SD card and note its drive letter.
- Search for Command Prompt.
- Right-click it and choose Run as administrator.
- Type: chkdsk X: /r
- Replace X with your SD card’s drive letter.
- Press Enter and wait.
It takes a bit sometimes. If the card has readable structure left, CHKDSK might repair enough to make it accessible again.
Method 5: Repair a Lost Partition with TestDisk
When the card shows up as unallocated space, or the partition is gone, TestDisk is one of the few free tools I still bother with. The interface is old and kind of ugly, but it works more often than people expect.
- Download and open TestDisk.
- Select the SD card.
- Accept the partition table type it suggests, if it looks right.
- Choose Analyze.
- Run Quick Search.
- Review the partitions it finds.
- If you spot the correct one, choose Write to restore the partition table.
I wouldn’t call TestDisk friendly. I would call it useful.
Method 6: Format the Card
If recovery is done and the repair attempts went nowhere, formatting is the last step.
- Open File Explorer.
- Right-click the SD card.
- Select Format.
- Pick exFAT for most newer SD cards.
- Leave allocation unit size on the default setting.
- Click Start.
At this point the files should already be recovered, so you’re not risking the original data anymore.
One more thing. If the same SD card keeps corrupting, I stop trusting it. I’ve had cards seem fine for a week, then fail again on the next trip. Repeated corruption usually means the flash memory is wearing out or the card is otherwise on its way out. You might get it working again, sure, but I wouldn’t put important footage or family photos on it after that. Toss it into the backup junk drawer or retire it fully. Saves you from learning the same lesson twice, lol.
4 Likes
Don’t repair the card first. I know @mikeappsreviewer said CHKDSK and Windows repair sometimes help, and sure, on light file system damage they do. I still avoid them until after I pull data off. Those tools change the file system, and on flaky SD cards I’ve seen them turn a messy card into a worse one.
What I’d do:
- Lock the SD card, if it has a physical switch.
- Plug it into a different reader, preferably a USB 3 one.
- Check if it shows the right size in Disk Management.
- If the size looks normal, make a full image of the card first.
- Scan the image, not the card, with Disk Drill or PhotoRec.
- Recover files to your PC or an external drive, never back onto the SD card.
Why imaging matters. SD cards often fail read by read. If the card drops offline during scan number 4, you lose time and sometimes access. An image gives you one stable source file. Disk Drill is solid here because it handles damaged cards well and the preview is fast, which saves time when you only care about photos and video clips.
If your camera used a common format like JPG, MP4, MOV, or CR3, signature scan tools often pull files even when the folder structure is toast. The downside is lost filenames and dates sometimes. Still better than formating first and hoping for magic.
One more thing people skip. Clean the card contacts with a dry microfiber cloth. No liquids. Dirty contacts cause weird mount errors more often than ppl think.
If the card gets hot, disconnects, or reports 0 bytes, stop messing with it. That points more toward hardware failure than corruption. At that point, software recovery drops off hard.
Also, this video is a decent explainer if you want a simple walkthrough on SD card file recovery and repair options, a top pick for data recovery software tips.
If you recover the files, retire the card. SD cards are cheap. Lost photos are not.
Don’t click format. Also don’t keep unplugging/replugging it 20 times hoping Windows suddenly gets inspired.
I mostly agree with @mikeappsreviewer and @techchizkid on recovering first, but I’m a little less eager to run any repair command at all on a card that still has unrecovered photos. Even “minor fixes” can shuffle metadata around in ways that make the next recovery pass uglier. Sometimes ppl get lucky, sometimes they really don’t.
What I’d add:
- Check the camera itself one more time. Sometimes the card won’t mount on PC but the camera can still read thumbnails or clips.
- If it mounts anywhere at all, copy the DCIM folder first before doing a full scan.
- Use a powered reader if possible. Weak cheap readers cause dumb problems.
- On Windows, look in Device Manager too. If the controller keeps reconnecting, that points to hardware instability.
- If the card is microSD in an adapter, replace the adapter. Those fail way more than people admit.
If the card is readable enough, Disk Drill is a solid first shot because it handles photo/video formats well and lets you sort through found stuff without turning recovery into a whole weekend project. If it finds your files, recover them to another drive only.
One place I kinda disagree with the usual advice: if this SD card has business, wedding, or once-in-a-lifetime footage, I’d seriously consider stopping DIY after the first non-detection or disconnect loop. Lab recovery is expensive, yeah, but so is regret.
After recovery, test the card with the SD Association formatter, not just Windows format. If it throws errors again, trash it. Seriously. Dead cards love pretending they’re “fixed” for about five minutes.
If you want more easy tips for recovering photos and files from a corrupted SD card, that thread has some decent software comparisons too.
Small disagreement with @mikeappsreviewer here: I would not run CHKDSK unless the card is stable enough that you can afford losing the current file system layout. On SD cards, “repair” can be a coin flip.
What I’d do differently from @techchizkid and @cazadordeestrellas is check SMART-like behavior the simple way: copy one large file off if anything is visible. If transfer speed nosedives, freezes, or errors halfway, that card is physically sketchy, not just logically corrupted.
Disk Drill makes sense here mostly for triage.
Pros:
- easy preview for photos/video
- can scan image files, not just the card
- better UI than PhotoRec/TestDisk
- usually quicker to sort camera media
Cons:
- deep scans can lose original names/folders
- not magic on dying hardware
- free recovery limits depend on platform
If the card keeps reconnecting, stop DIY sooner than the others suggest. Repeated reconnects are where people turn recoverable cards into dead ones. For priceless footage, lab time beats experimenting. After recovery, retire the card permanently.