I accidentally deleted important files on my Mac, and now I can’t find them in Trash, iCloud, or recent folders. I’ve already checked the usual places and I’m worried they may be permanently deleted. I really need help figuring out the best way to recover deleted files on Mac because some of these documents and photos are important for work.
I’d treat this like a hurry-up problem, not a dead-end one. Once you empty Trash, the easy restore option is gone. The file data still might be sitting there for a bit, unless macOS writes over it or the SSD wipes blocks through TRIM.
First thing I’d do, stop using the Mac. Seriously. Don’t install anything. Don’t download stuff. Don’t move big folders around. Skip updates. Every write to the same drive makes recovery worse.
1. Double-check that the file didn’t end up somewhere dumb
I’ve seen files turn up in odd places. Before doing recovery work, I’d search in Finder again, look in Trash again, and show hidden files with Command + Shift + . Files get hidden, moved, renamed, or synced off somewhere without much warning.
2. Look at Time Machine and iCloud before touching recovery tools
If Time Machine was on, I’d open the folder where the file used to live, enter Time Machine, roll back to a point before deletion, and restore from there.
I’d also check iCloud.com. Look through Recently Deleted, plus iCloud Drive, Desktop, Documents, and Photos if any of those were syncing. I’ve found stuff there after thinking it was gone for good.
3. Check APFS snapshots
This part gets missed a lot. Open Disk Utility, pick your main APFS Data volume, and see whether snapshots exist from before the file disappeared. If one is there, mount it and copy the missing file out to a different location. Don’t put it back onto the same drive if you can avoid it.
4. Run recovery software, but don’t install it on the same drive if you can help it
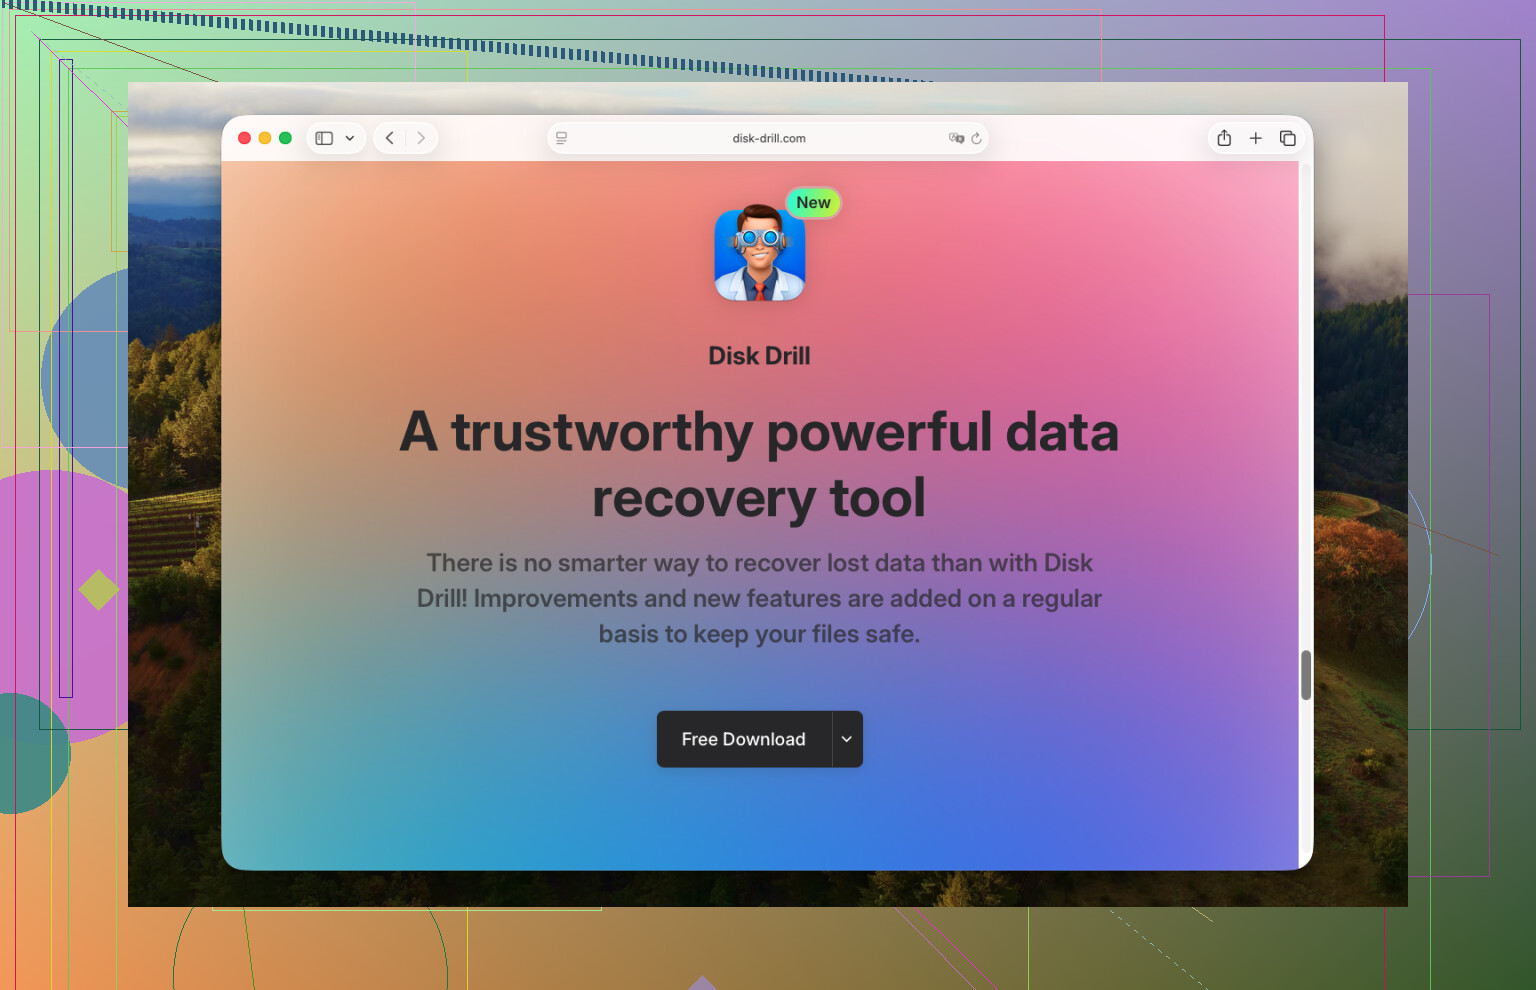
I’d start with Disk Drill. It’s easier to deal with than some of the older tools, and the preview feature matters. If a file previews cleanly, you’ve got a better sign the data is still usable before spending money.
What I’d do:
Install Disk Drill to an external drive if possible.
Launch it and pick the drive where the file was deleted.
Start the lost data scan. If it asks for a scan type, pick the one closest to your situation and let it finish. Don’t interrupt it early unless you already found what you need.
Use search or filters by file name, extension, or folder path.
Preview the file first.
Select what you want back.
Recover to another drive, not the original internal drive.
I’d also keep R-Studio and Data Rescue in mind. They’re solid, though I found them less friendly on first pass. Same rule applies across all of them. Scan the affected drive, save the recovered files somewhere else.
5. Know when to stop and send it to a lab
If the Mac has liquid damage, the SSD drops in and out, the drive shows weird errors, recovery apps hang, or the files matter enough where you don’t want to gamble, I’d stop there and use a recovery lab. It costs more. Still, if the storage itself is failing, DIY gets risky fast.
The big factor is time. There isn’t some clean recovery deadline. On SSD Macs, TRIM and normal background writes start working against you right away. I’d check backups first, then move to scanning as soon as possible. Waiting around usually ends badly, yeah.
5 Likes
If Trash, iCloud, and Recents are empty, I’d check a few less obvious spots before going full recovery mode.
First, look in Terminal for local snapshots. This is different from the APFS snapshot route @mikeappsreviewer mentioned. Run:
tmutil listlocalsnapshots /
If you see dates from before deletion, restore from Recovery or mount from backup tools. It’s nerdy, but it works more often than people think.
Next, check app-specific recovery bins. A lot of files are “deleted” inside the app first.
Photos has Recently Deleted.
Notes has Recently Deleted.
Mail attachments might still sit in Library caches.
Pages, Word, Adobe apps, and some editors keep AutoRecovery copies.
Look here:
~/Library/Containers/
~/Library/Application Support/
~/Library/Autosave Information/
~/Library/Group Containers/
Also check version history if the file lived in iCloud Drive, Pages, Numbers, Keynote, Office, Dropbox, or Google Drive. Sometimes the file is gone, but the prior version is still there. People miss this step alot.
Spotlight can lie, by the way. I don’t agree with relying on Finder search too much. Reindex Spotlight if needed:
sudo mdutil -E /
If none of that hits, then yes, use recovery software. Disk Drill is the usual first stop on Mac because it finds deleted files, lost partitions, and old file signatures in one scan. Search by file type and original path if you remember it. Save recovered files to an external drive.
If the missing stuff was on an external disk, stop plugging it in and out. Connection retries write logs and sometimes make things worse.
This also helped a friend of mine: Mac file recovery tips on Instagram.
If you know the file type, like PSD, DOCX, MOV, I’d search for temp and autosave locations next. That part gets skipped way too ofen.

One angle I don’t see stressed enough in the replies from @mikeappsreviewer and @byteguru is this: make sure the files weren’t deleted from a different user account or moved by an app with sandbox weirdness. On Macs, files can “vanish” just because you’re looking in the wrong Library, wrong desktop, or wrong cloud-connected account. Check /Users/ and confirm you’re signed into the expected Apple ID inside System Settings.
Also, I wouldn’t mess with Spotlight reindexing right now unless you’re sure the drive is healthy. Rebuilding indexes writes data, and on an SSD that’s not my fave move when you’re trying to preserve recoverability.
What I’d do next:
-
Check Terminal command history if you use it:
history | grep rm
You’d be surprised how often people nuked something with a command and forgot. -
Look for open but unsaved temp copies:
- TextEdit: autosave can reopen from app restore
- Preview: check locked temp docs
- Adobe/Office: open the app first, then inspect recovery panes before searching Finder
-
If the file was attached/imported somewhere, search by content, not filename:
mdfind 'some unique phrase from the document'
That sometimes finds stuff Finder search misses. -
If the disk is external or you have another Mac, make a read-only image/clone first before scanning. That gives you one safer shot at recovery.
If you’re past the easy checks, yeah, Disk Drill for Mac is the practical next step. Install/run it from another drive if possible, scan the affected disk, and recover files somewhere else. If nothing previews correctly, chances are the file got overwritten or TRIM already did its thing.
For more community advice on recovering deleted Mac files, this Apple thread is worth checking: best Apple Community fixes for deleted files on Mac
If you know the exact file type, I’d probly target recovery around that first. Way less chaos, tbh.
One thing I’d add to what @byteguru, @vrijheidsvogel, and @mikeappsreviewer already covered: check whether the file was actually replaced, not deleted.
On Mac apps like Pages, Word, Photoshop, even Preview, people sometimes save a blank/newer version over the original. In that case, recovery means looking for older document revisions or duplicate fragments, not a deleted file. Right click the file’s folder and sort by Date Modified, Size, and Kind. Tiny files with the right name are a clue.
I also wouldn’t rush into lots of system-level tinkering if this is an internal SSD. Some recovery advice sounds smart but creates more writes than people admit.
What I’d do:
- Check app reopen states after a reboot/logout
- Look in
~/Library/Saved Application State/ - Inspect external monitors/desktops/spaces if it was a dragged file that “vanished”
- Check cloud provider web trash if Dropbox/Drive/OneDrive were involved
- If this is super important, clone the disk first, then work from the clone
If you need software, Disk Drill is a reasonable next move.
Pros
- easy to use
- good filtering/preview
- decent for common file types
Cons
- not magic on TRIMmed SSDs
- deep scans can be messy with generic filenames
- paid recovery limit can be annoying
If Disk Drill finds nothing usable, I’d stop DIY and consider a lab. That’s the point where pushing harder usually lowers the odds.